


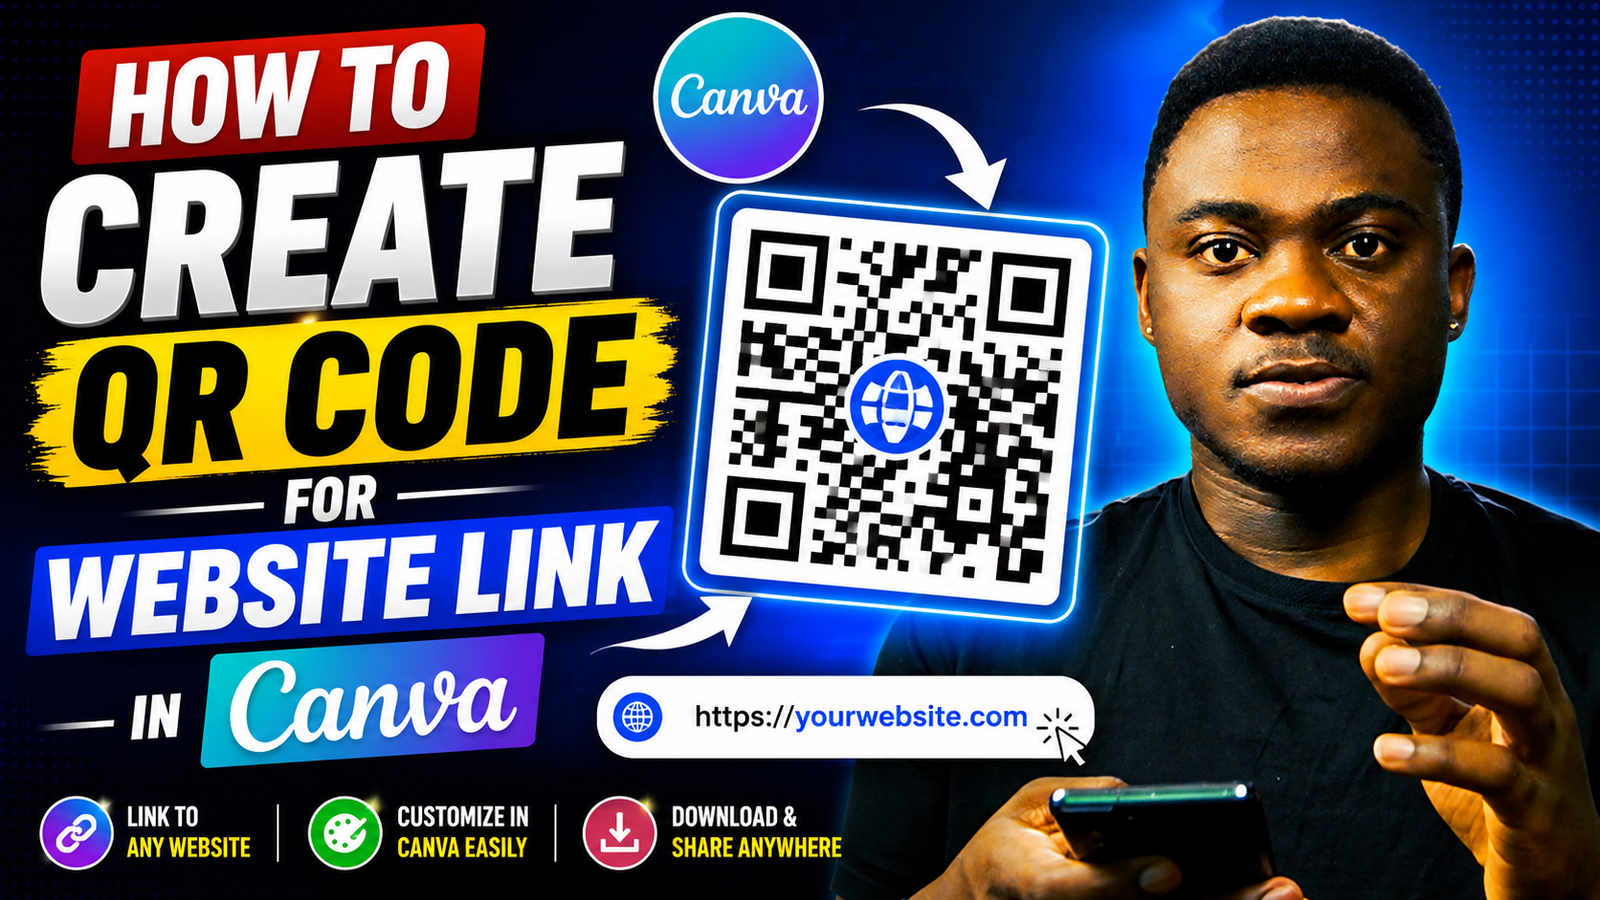
Have you ever wanted to share a website link without making someone type out a long URL? A QR code solves that problem instantly. Anyone with a smartphone can scan it and land directly on your website in seconds. The good news is that you don’t need any technical skills or paid software to make one. Canva, one of the most popular free design tools online, lets you create a professional-looking QR code for any website link in just a few clicks.
In this step-by-step guide, you will learn exactly how to create a QR code for any website link using Canva, how to customize it to match your brand, and how to download and use it across print and digital materials.
What Is a QR Code and Why Does It Matter?
A QR code (short for Quick Response code) is a two-dimensional barcode that stores information such as a URL, text, or contact details. When scanned with a smartphone camera or a QR reader app, it instantly takes the user to that link or displays the stored information.
QR codes have become incredibly common in everyday life. You see them on restaurant menus, business cards, product packaging, event flyers, and social media posts. They bridge the gap between offline and online experiences, making it easy for people to visit your website without typing a single character.
Here are a few reasons why creating a QR code for your website is worth doing:
- It saves your audience time and effort.
- It reduces the chance of people mistyping your URL.
- It looks professional on printed materials.
- It helps you track how many people are visiting your site from a specific campaign or location.
- It works seamlessly with modern smartphones without requiring a separate app.
Why Use Canva to Create a QR Code?
Canva is a cloud-based graphic design tool used by millions of people worldwide. It is well known for making design accessible to everyone, regardless of experience level. While there are dedicated QR code generators available online, Canva offers a major advantage: it lets you design your QR code and place it directly into your marketing materials, flyers, posters, and social media graphics all in one place.
Here is why Canva stands out for QR code creation:
Free to use. Canva’s QR code feature is available on the free plan. You do not need to upgrade to Canva Pro to generate a basic QR code.
No coding required. Everything is drag-and-drop. You simply enter your URL and Canva generates the code automatically.
Fully customizable. You can change the color of your QR code to match your brand palette, add a logo in the center, and place it directly inside your designs.
Instant download. Once your QR code is ready, you can download it as a high-resolution PNG or other format, suitable for both print and digital use.
All-in-one design platform. Instead of generating a QR code in one tool and then importing it into another, Canva handles both steps in the same workspace.
What You Need Before You Start
Before you begin, make sure you have the following ready:
- A Canva account. If you don’t already have one, go to www.canva.com and sign up for free using your email address, Google account, or Facebook account.
- The URL you want to encode. This is the full web address (for example, https://www.mokubetech.com) that you want people to land on when they scan the QR code.
- A device with internet access. Canva works in any modern web browser and is also available as a mobile app for iOS and Android.
Step-by-Step Guide: How to Create a QR Code in Canva
Follow these steps carefully and you will have a working QR code in under five minutes.
Step 1: Log In to Canva
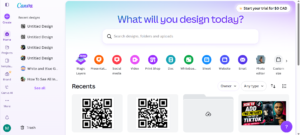
Open your web browser and go to www.canva.com. Enter your login details and click Log In. If you are a new user, click Sign Up and complete the registration process. It is completely free.
Once you are logged in, you will land on the Canva home dashboard. From here, you have access to thousands of templates, design tools, and features.

Step 2: Open a New Design or Choose a Template
You have two options at this stage:
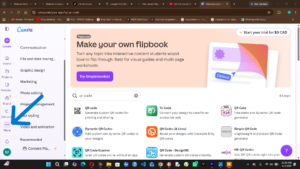
Option A: Start with a blank canvas Click the Create a design button in the top right corner of the Canva homepage. A dropdown menu will appear with various design sizes. You can choose a preset size like A4, Instagram Post, or Business Card, or type in custom dimensions. This is useful if you already know exactly where you plan to use the QR code.
Option B: Open an existing design If you have already created a flyer, poster, or business card in Canva and want to add a QR code to it, simply open that project from your Recent Designs section on the homepage.
For beginners, starting with a blank design or a simple template is usually the easiest approach.

Step 3: Open the Apps Panel and Find the QR Code Tool
Once you are inside the Canva editor, look at the left-hand sidebar. You will see several icons including Elements, Text, Brand Kit, and more. Scroll down in the sidebar until you find the Apps option, or look for a section labeled More at the bottom of the sidebar.
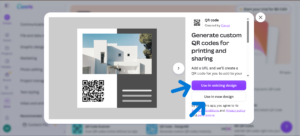
Click on Apps. A panel will slide open showing various Canva integrations and tools. In the search bar at the top of the Apps panel, type QR Code and press Enter.
The QR Code app will appear in the results. Click on it to open the QR code generator tool.
Note: If you are using the Canva mobile app on a phone or tablet, the interface will look slightly different but the steps are essentially the same. Look for the + button or the More tools option to find the QR code feature.

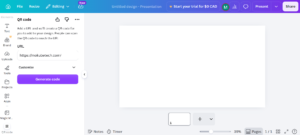
Step 4: Enter Your Website URL
After clicking the QR Code app, a small panel will open on the left side of your screen. You will see a text field with a placeholder that says something like Enter URL.
Click inside the text field and type or paste your full website URL. Make sure you include the complete address, starting with https:// or http://. For example: https://www.mokubetech.com
Double-check the URL before moving on. A small typo here will result in a QR code that sends people to the wrong page or a broken link. Once you have confirmed the URL is correct, click the Generate QR Code button (or a similar button depending on your version of Canva).
Canva will instantly generate a QR code based on the URL you entered.

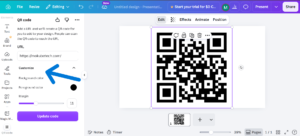
Step 5: Add the QR Code to Your Canvas
After the QR code is generated, it will appear as a clickable image in the left panel or it will be automatically added to your canvas. If it has not been added yet, simply click on it and it will drop onto your design.
You can now:
- Move it by clicking and dragging it to any position on the canvas.
- Resize it by clicking on the QR code and dragging the corner handles. Always resize from the corners to maintain the square proportions.
- Rotate it using the rotation handle that appears above the selected element (though it is generally best to keep QR codes straight for easy scanning).
Make sure the QR code is large enough to be scanned. A minimum size of about 2 cm x 2 cm (roughly 0.8 x 0.8 inches) is recommended for print. For digital use, ensure it is not so small that it becomes blurry or unreadable.


Step 6: Customize the QR Code (Optional)
One of Canva’s biggest advantages over basic QR code generators is the ability to customize the appearance of your code. Here are some ways you can make your QR code match your brand:
Change the color By default, Canva generates a black and white QR code. You can click on the QR code element on your canvas, then look for color options in the toolbar at the top of the screen. Click on the color swatch to change the foreground color (the dark squares) to your brand color.
Important note: Always make sure there is enough contrast between the foreground and background colors. A dark code on a light background is easiest to scan. Avoid using very similar shades, as this can make the code difficult for scanners to read.
Add a frame or border You can add a decorative frame around the QR code using Canva’s Elements feature. Search for “frame” or “border” in the Elements panel and place one around the QR code to give it a polished look.
Add a call to action Consider adding a short line of text below the QR code, such as:
- “Scan to visit our website”
- “Scan for more info”
- “Scan to shop now”
This helps your audience understand what the QR code does before they scan it, increasing the likelihood that they will actually use it.
Add your logo To place a logo in the center of the QR code, upload your logo image using the Uploads panel on the left side of the Canva editor. Then position the logo image on top of the QR code, centered in the middle. Resize it so it covers roughly 20–30% of the QR code area. Most QR codes are built with error correction, which means they can still be read even if a small portion is obscured.

Step 7: Test Your QR Code Before Downloading
Before you finalize and download your QR code, it is highly recommended that you test it to make sure it works correctly.
To test it directly in Canva:
- Zoom in on the QR code in your canvas.
- Open your smartphone camera and point it at the screen.
- The camera should detect the QR code and display a notification with the link it points to.
- Tap the notification to confirm it takes you to the correct website.
If the link is incorrect or the QR code is too small to scan, go back and make the necessary corrections before proceeding.
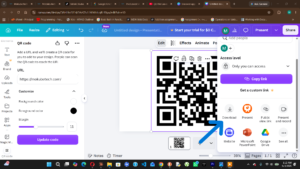

Step 8: Download Your QR Code
Once you are happy with the QR code and have confirmed it works, it is time to download it.
Click the Share button in the top right corner of the Canva editor. A dropdown menu will appear. Click Download.
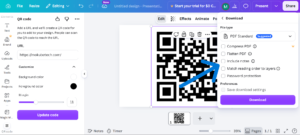
In the download settings panel, choose your preferred file format:
- PNG – This is the best option for most uses. It supports transparent backgrounds and produces a crisp, high-quality image suitable for both digital and print use.
- PDF (Print) – Use this if you are preparing a design for professional printing, such as business cards or brochures.
- SVG – This vector format is ideal if you need to scale the QR code to very large sizes without any loss of quality.
After selecting your format, click the Download button. The file will be saved to your computer or device.

How to Use Your QR Code
Now that your QR code is ready, you can use it in many different ways:
On printed materials Add it to business cards, flyers, brochures, posters, product labels, packaging, and event programs. Make sure the printed size is large enough for easy scanning.
On digital content Include it in email signatures, PDF documents, digital presentations, and website banners. This is especially useful if someone is viewing content on one device and you want them to open your website on another.
On social media Share your QR code as an image on Instagram, Facebook, LinkedIn, or Twitter. Your followers can screenshot the image and scan it later from their photo gallery using most modern smartphone cameras.
In video content Display the QR code on screen at the end of a YouTube video or in a presentation. Viewers can pause the video and scan it from their screen.
Tips for Getting the Best Results
Keep these best practices in mind when creating and using your QR code:
Always test before printing. Once a QR code is printed in bulk, you cannot change it. Always test it on multiple devices before committing to a print run.
Use a URL shortener for cleaner codes. Longer URLs create more complex QR codes with denser patterns, which can be slightly harder to scan. Consider using a URL shortener like Bitly or TinyURL to create a shorter link, then encode that shorter link in your QR code.
Maintain contrast. Ensure the foreground color of the QR code is significantly darker than the background color. Poor contrast is one of the most common reasons QR codes fail to scan.
Do not distort the shape. QR codes must remain square. Never stretch or squash them. Always resize while holding the shift key or by dragging from the corners.
Leave a quiet zone. Always maintain a small border of white space around the QR code. This space, called the quiet zone, helps scanners identify where the code begins and ends.
Consider using a dynamic QR code. Canva generates static QR codes, which means the URL is permanently encoded into the image. If you ever need to change the destination URL without reprinting the code, consider using a dynamic QR code service such as Bitly, QR Tiger, or Beaconstac. With dynamic codes, you change the destination in the platform dashboard and the same QR code image automatically redirects to the new URL.
Common Questions About Canva QR Codes
Is the Canva QR code feature free? Yes. Canva’s built-in QR code generator is available on the free plan. You do not need a Canva Pro subscription to create a basic QR code.
Can I add a QR code to any Canva design? Yes. Once generated, the QR code is simply an image element that you can place into any Canva project, including business cards, posters, social media posts, presentations, and more.
Will the QR code expire? Canva generates static QR codes. These do not expire on their own. As long as the destination website URL remains active, the QR code will continue to work indefinitely.
How many times can a Canva QR code be scanned? There is no limit. Static QR codes can be scanned an unlimited number of times.
Can I track how many times my QR code is scanned? Canva does not offer scan tracking for QR codes. If tracking is important to you, consider using a dynamic QR code platform that includes analytics features.
What if my QR code doesn’t scan? Check the following: the code is large enough, the contrast between foreground and background is strong, the image is not blurry or pixelated, and the URL you entered is correct and working. Also ensure there is adequate quiet zone around the code.


")
